Beautiful shelf borders

Skill Level: Intermediate
Give your simple shelving unit a makeover.
It’s easier than you think to turn your existing furniture into something new. We’ll show you, step by step, how you can breathe new life into a shelving unit with a beautiful scalloped border.
Step 1. Measure And Cut
Firstly, you’ll need to cut the MDF to the exact width and height of your shelving unit. Then draw a border line around the inside edge of the material. In this case, the border is 20mm from the edge.

Step 2. Mark Up Your Curves
It’s now time to create the curved stencil pattern. To ensure the curves are of equal size, divide the overall height and width of the book case (within the border you’ve just created), by the number of curves you want along each edge. Aim for curves approximately 20cm wide, and mark dots at equal distance around the inside of your border.
Step 3. Create Your Curve Stencil
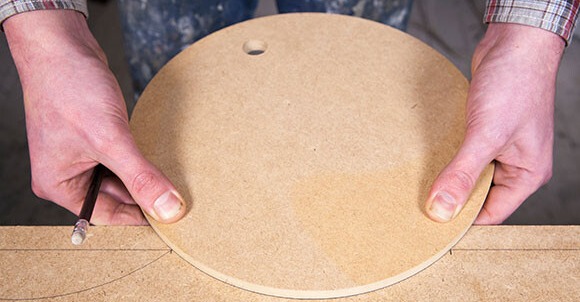
Now you’ll need a circular item (e.g. a plate) to mark out the curves. Place the circular item in between each of the dots, and draw around the circular edge to create the curved cutting stencil.
Step 4. Complete Your Cutting Stencil
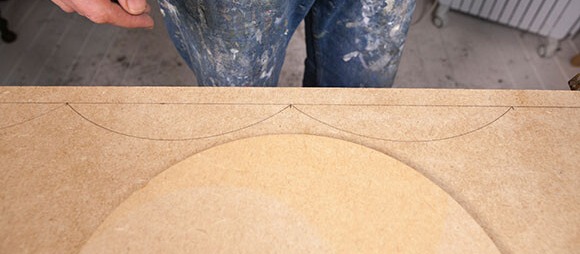
Once you’ve drawn the equally-sized curves around the edges of the border, you now have your cutting stencil.
Step 5. Prepare for Cutting
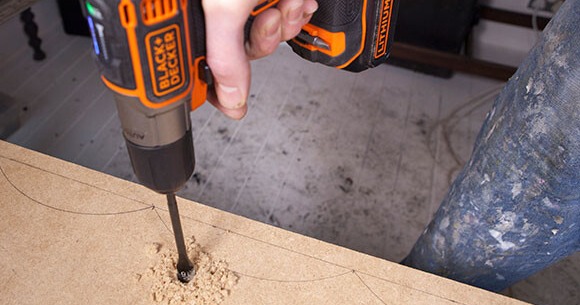
Drill a hole into the MDF close to the cutting stencil line. This hole will help you to start the cut with your Jigsaw.
Step 6. Get Cutting
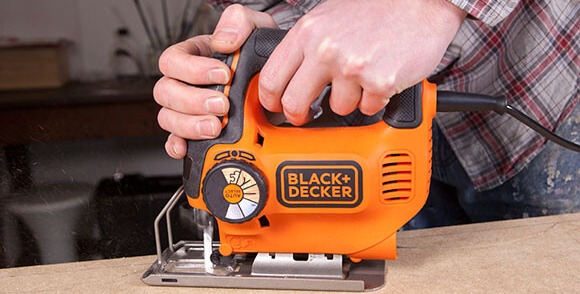
Carefully cut around the curved stencil.
Step 7. Border Complete
You now have your decorative border.
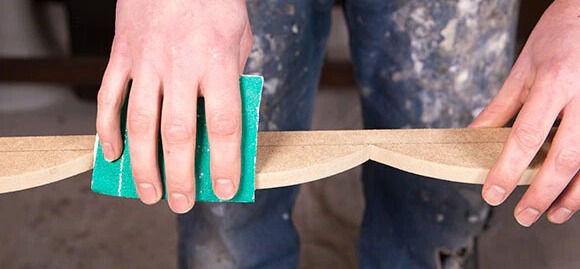
Step 8. Smooth Edges
Smooth any rough edges using sand paper.
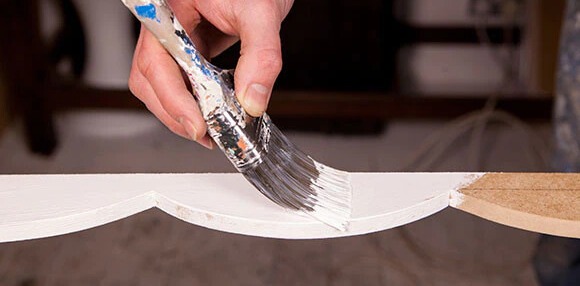
Step 9. Paint A Base Layer
Add a base layer of paint in the same color as your existing shelving unit.
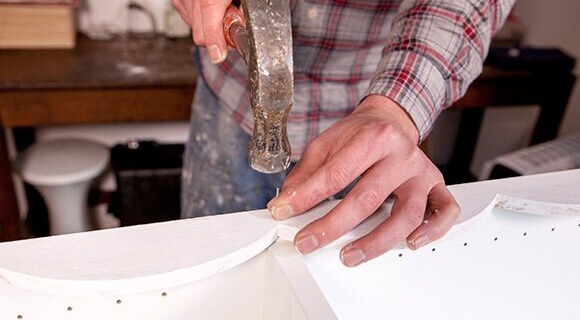
Step 10. Attach Your Border To Your Shelving Unit
Align the decorative fascia with your shelving unit, and fix the fascia to the shelving using a hammer and pins.
Step 11. Get Painting
Paint the entire shelving in the color of your choice.
Step 12. All Finished
You’ve added some personality to your tired old shelving!


