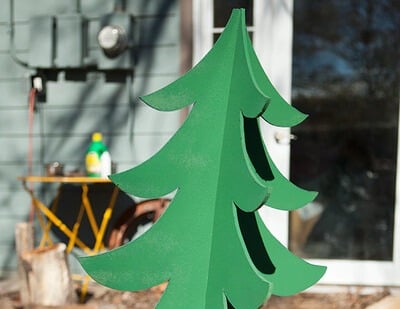
DIY mini Christmas trees
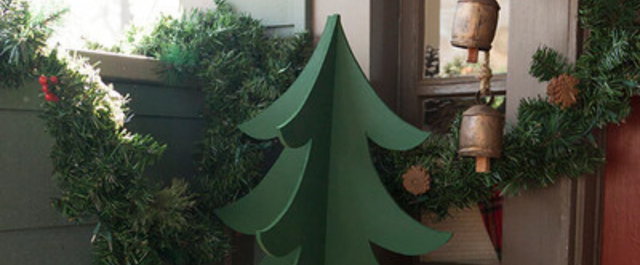
I’m going to have a short hypothetical conversation with you. Let’s make something for Christmas! How about a semi-mini Christmas tree?
Yes? Ok. You are so adventurous and understanding. I love our talks. Let’s get started.
On our now non-hypothetical journey, we are going to need a few basic things.
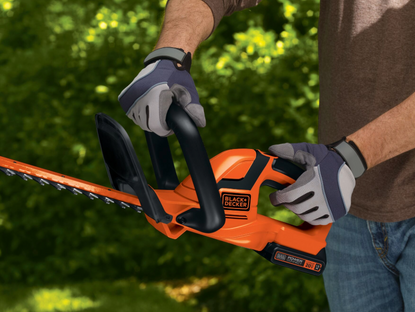
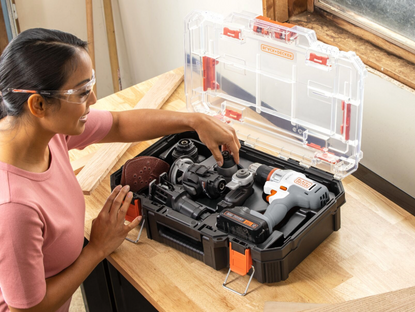
Two pieces of MDF board available at your big box home store. 48” x 24”. Thickness is not too important but I would go with about 1/4” thick or so. To begin you’ll also want a pencil, something straight to help with lining up your sketch (I used a level), and some measuring tape. Later on, you’ll need a jigsaw. I used a handy little guy made by BLACK+DECKER. A paint sprayer filled with some green stain or paint, the paint sprayer I also used conveniently, by BLACK+DECKER, and a table saw if you have one handy to help cut slits in the stump. That’s about it.
Drawing is not my usual creative medium so using a pencil will let you make things just how you want them without having to marry your first go at it. I got started by sketching out one side of the tree branches. Find the center of the wood board. 12” in if you’ve gotten the wood I suggested. Draw a line from top to bottom so you’ll know where the center of the tree will be and then be brave while you try and draw something that looks like a tree. Here’s my attempt.
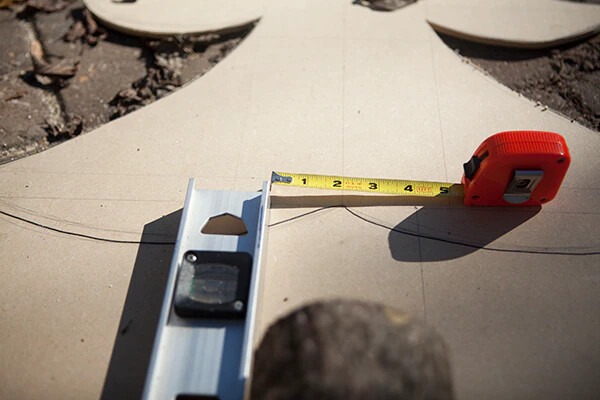
Now that you’ve gotten one side all prettied up, use your level to draw lines from the bottom, and tip of each branch across to the side where you need to draw the rest of the tree. This will help as a guide to make a mirror image. It should look something like this:

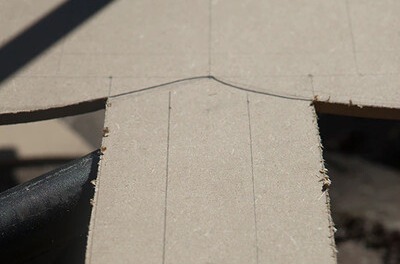
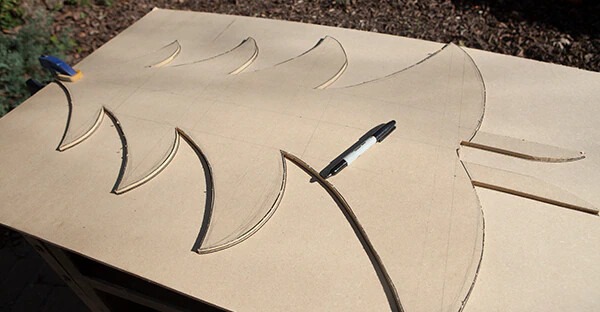
Take a Sharpie and lock in your design where you’d like to cut. I ended up with too much space at the top so I fixed it later. We’ll get to that. But this is what it looked like at this point for me.
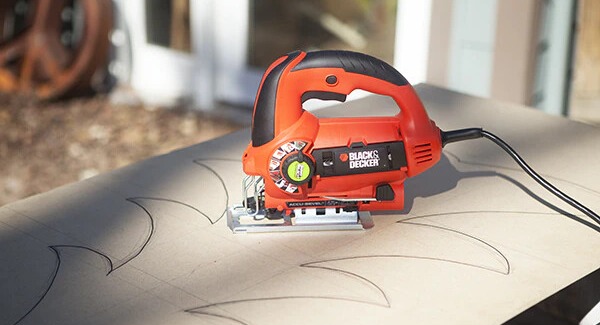
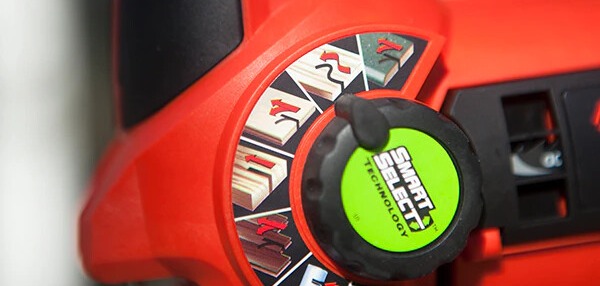
Now the fun part. The BLACK+DECKER jigsaw I am using has some handy settings on the side used to help you cut either curves or straight lines. Clearly, we are cutting curves right now so I used this setting.
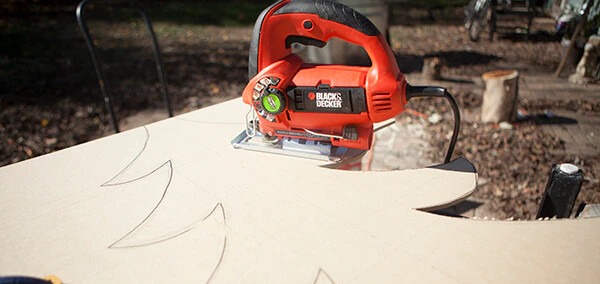
You don’t need to go mad with power and speed. Cut slowly and make sure you are following your guideline. This is a really easy wood to cut and if you go too fast, you may botch it and need to start over.
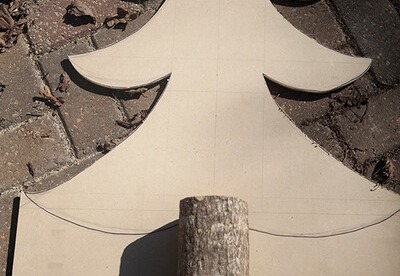
After you have cut both sides out, take your stump and place it on the wood so you can mark how wide you’ll want the connectors that will go into the stump to be. Mark the sides with a pencil and then go back with your level and draw lines to follow all the way down from your branches to the bottom of the wood.
Then, cut out the rest of the pattern with your jigsaw. Should look a bit like this.
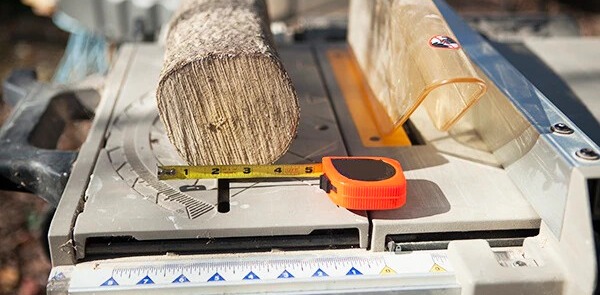
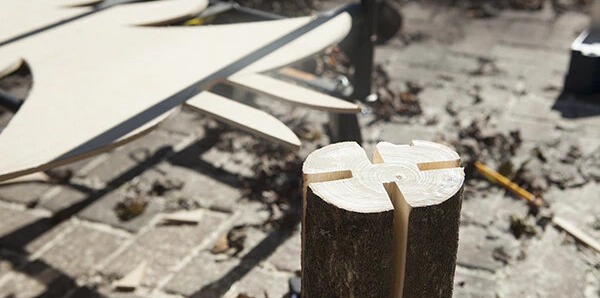
This next part is a bit tricky and takes some eyeballing. There are probably many ways to attach your treetop to the stump, but here is how I did it. You’ll need your table saw now. Measure the depth of your stump and then set your blade to go in about a quarter or so of that distance. Say your stump is 4” across at the top. You’ll set your blade to cut into the stump about 1”. Center the stump on your table saw and cut through about halfway through the length of the stump. That’ll take some eyeballing like I said. Or, maybe you are smarter and more patient than me and can figure out a way to get this exact. But that ain’t my story. Then flip the stump over and cut the opposite line through until you have 4 slits that look something like this.
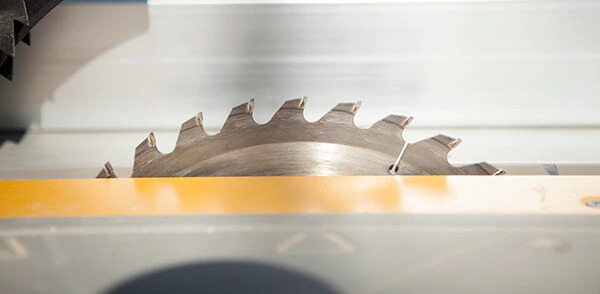
Now… an issue I had was that the blade on my table saw was not wide enough to accommodate the brackets I had made in the treetop. I solved this by just putting the stump back on the table saw and moving it over a bit to widen the cut parallel to the original cut. This was a bit of trial and error for me and I had to go get another stump at one point. I wish I had different news for you on this front, but I don’t. The other folly of using the table saw for this is that the blade leaves a curved cut when you stop short of cutting through the whole stump, hence the curves in my treetop brackets you can see here. Just measure how far you cut down the stump and then cut off and curve your brackets to match, and you should be okay.
You could do this step earlier, but I didn’t, so here it is now. Use the treetop you have already cut out as a template to outline the other side of your tree. Like this.
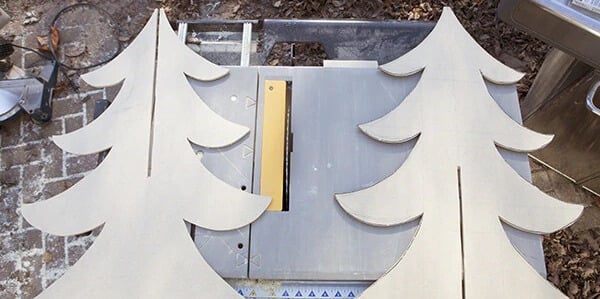
After you have that cut out, measure halfway down from the top of one side and halfway up from the bottom of the other side and use the table saw to make slits in both so they will connect together by sliding into one another. It’s romantic when you think about it. Nah… Not really. You’ll need to do the same widening of the slit that you had to do with the stump here. Measure how wide your wood board is and then cut that same width for the slit and the two sides should slide right together. Anyway, here’s a pic to help illustrate the concept.
For the painting portion of our journey together, you can spray the treetop before you lock it into the stump. Once again, I didn’t because I wasn’t thinking. But you can learn from my mistakes. Paint it BEFORE you put it in the stump or you will have to makeshift a cover for your stump like I did. It’s not pretty.
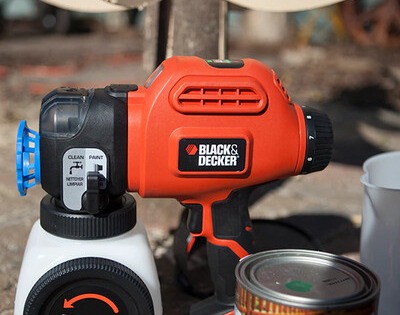
You may need to water down your stain if it is too thick for the sprayer. I’m actually not sure I needed to, but I did anyway just to make sure I didn’t clog the sprayer. I thinned it approximately 10-15%. Probably too much. Oh well. The next part doesn’t need much explanation. Spray the thing! It was really quick. About 5 minutes to get the whole thing stained max.
Make a pretty little home for your new creation. A mini wonderland is full of glee and good tidings for all to behold!
And that my new best friend in the whole world, is that. Let’s do this again soon. Yes? Ok.


