DIY pallet raised garden bed
Skill Level: Intermediate | Estimated Time: 6 hours
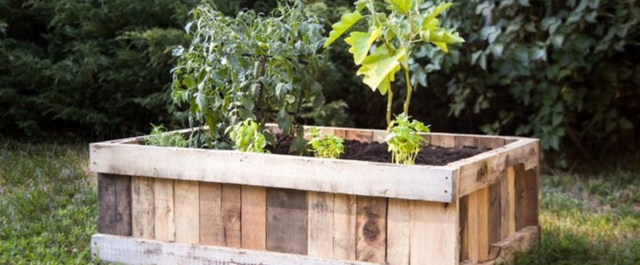
This medium-sized, raised planter box is just right for vegetables, herbs, flowers, or even shrubs.
Pallet wood may not look like much in pallet form, but you'll be amazed at how good your planter box looks when it's finished. This box measures about 21" tall, 36" wide, and 48" long and can be built with five standard-size pallets.
Tip: Pallets are relatively easy to find, and often free at warehouses, grocers, or shipping outlets. Ask for "stringer" pallets. They work best for this type of project and are one of the most common styles. Starting with five pallets gives you some extra material so you can pick and choose the best boards.
Warning: Wear gloves and eye protection. Pallets are used to ship almost everything, including hazardous materials. If you see obvious stains, or the pallet has an oil or chemical odor, don't use it. Follow the old adage: When in doubt, throw it out.
Things You’ll Need

Step by Step Instructions
Step 1. Disassemble the Pallets
The individual boards on the top of a pallet are called deck boards. The two or three structural members, similar to 2 x 4s and often with rounded cutouts, are called stringers.
Use a crowbar, flat pry bar, and hammer to remove the deck boards from the stringers on all of the pallets. Pull all nails, staples, or other fasteners from the deck boards and stringers.
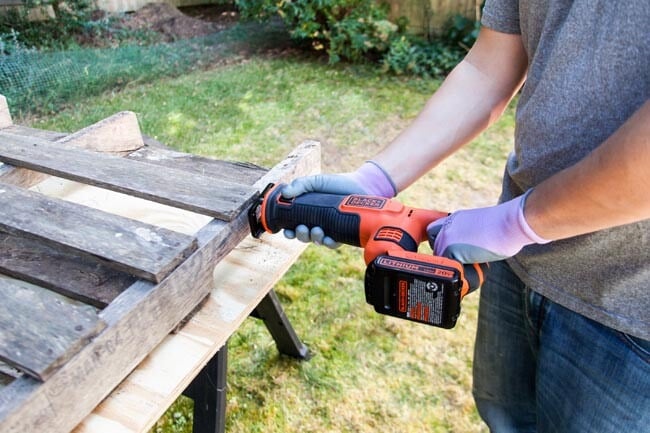
Tip: Pallets can be difficult to take apart. Instead of prying off the deck boards, you can slide the blade of the BLACK+DECKER 20V MAX* Lithium Reciprocating Saw between the deck boards and stringers to cut through the staples, nails, or screws.
If any fasteners are sticking above the wood surface, you can trim them off with the saw or with diagonal pliers. Hammer any protruding fasteners into the wood. Mark any unremoved fasteners clearly so you don’t cut or drill into them when building your planter.
Step 2. Cut the Deck Boards
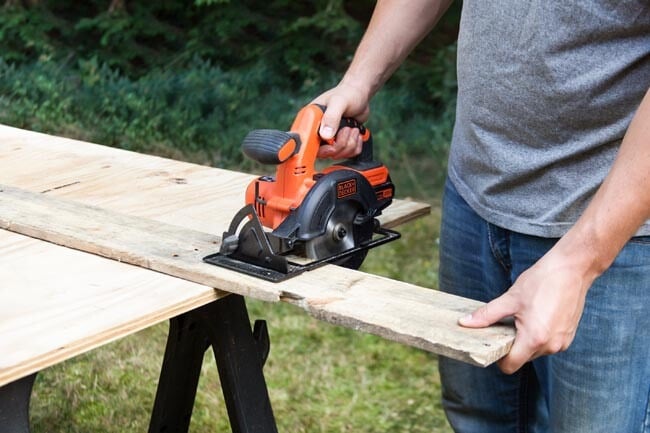
Use the BLACK+DECKER 20V MAX* Cordless Lithium-Ion 5-1/2 in. Circular Saw to cut the deck boards in half, yielding two 20" pieces from each.
Step 3. Assemble the Planter Sides
Place two of the stringers on a flat surface so they are parallel and spaced 20" apart, with their cutout edges facing each other.
Position 20" deck boards side-by-side across the stringers, flush with the stringers at the top and bottom. Use the 20V MAX* Circular Saw to trim the last board to width, if necessary.
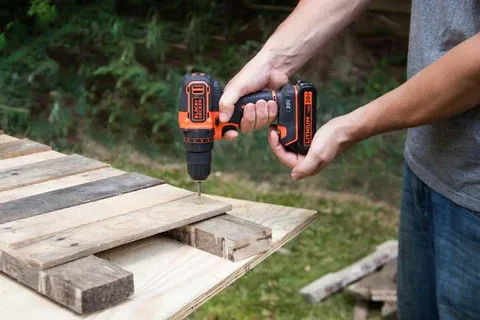
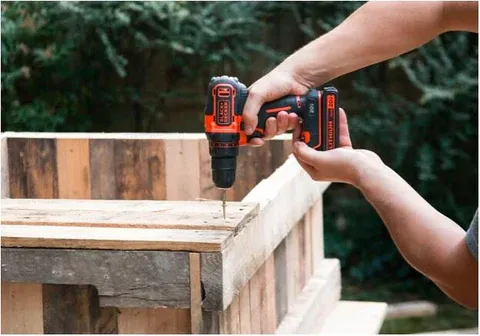
Drill two pilot holes through the deck boards at each end, using the BLACK+DECKER 20V MAX* Lithium 2-Speed Drill/Driver and a 3/32" drill bit. Fasten the deck boards to the stringers with two 1-1/2" screws at each end.
The completed side assembly should measure about 20" high and 48" long. Repeat the procedure to assemble the other planter side.
Tip: Depending on what type of screw you're using, pilot holes should be just slightly smaller than the screw. The idea is to allow the hole to be big enough for the screw to pass through without splitting the wood, but at the same time, small enough so that the threads grip firmly.
Step 4. Assemble the Planter Ends
Use the 20V MAX* Circular Saw to cut 9" from both ends of four of the remaining stringers to produce 30" stringers.
Cutting equal lengths from both ends should give them a balanced appearance. Place two of the cut stringers 20" apart, with the cutout edges facing each other. Cover them with 20" deck boards, as you did with the planter sides.
Drill pilot holes and fasten the deck boards with 1-1/2" screws, as before, to create a 20"-high x 30"-long end assembly. Construct the second planter end the same way.
Depending on what type of screw you're using, pilot holes should be just slightly smaller than the screw.
The idea is to allow the hole to be big enough for the screw to pass through without splitting the wood, but at the same time, small enough so that the threads grip firmly.
Step 5. Build the Box
Fit the 30" end assemblies inside the 48" side assemblies to form a box, with the deck boards facing the inside.
Drill pilot holes, and screw the box together using two 3-1/2" screws through each long stringer at each corner.
Set two of the 9" cut-off ends of the stringers into each of the inside corners of the box, stacking one on top of the other end-to-end. Screw them in place through the deck boards on the sides and ends, using 1-1/2" screws, to reinforce the box’s corners.
Depending on what type of screw you're using, pilot holes should be just slightly smaller than the screw.
The idea is to allow the hole to be big enough for the screw to pass through without splitting the wood, but at the same time, small enough so that the threads grip firmly.
Step 6. Cut + Install the Bottom Boards
Sand all exposed edges of the planter box so they are smooth and free of splinters, using the BLACK+DECKER MOUSE® Detail Sander and 100-grit sandpaper.

Step 7. Start Planting Your Bed (optional)
Fill with your favorite plants!


