How to build DIY basement bar (with plans)
Skill Level: Intermediate | Estimated time: 1 day
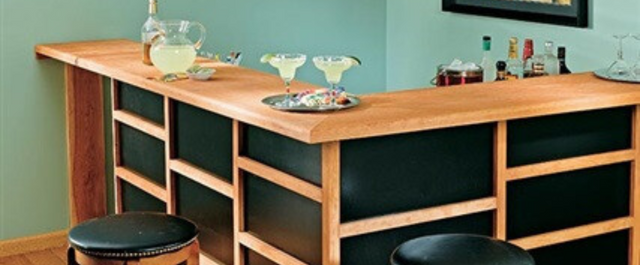
Owning your own in-house bar makes a statement about you. The bar shown here is sleekly styled and smartly laid out for the efficient barkeeper.
A small refrigerator gives you access to cold drinks and ice while convenient cabinets create excellent storage spots for party favors. While this is a dry bar
(no plumbing), the design could be modified in any number of ways to add running water if you wish. All you need to get the party started is a GFCI electrical outlet and the proper floor space.
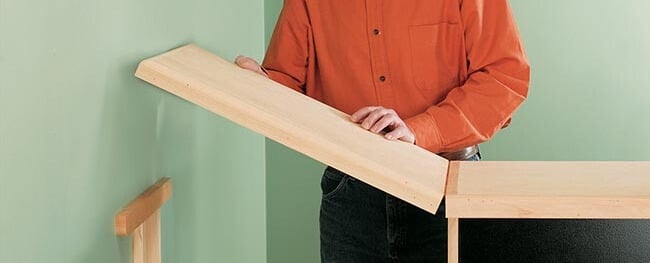
This compact corner bar design features glossy black MDF aprons with decorative cherry appliqués forming a horizontal grid pattern on the aprons. A cherry plywood bartop sits atop a 2 × 6 L-shaped kneewall, harboring some practical amenities on the bartender side. A flip-up lift gate in the bartop on one end provides pass-through access and can even function as a wait station if you want to get really fancy in your hosting. The key components— base cabinets, a laminate countertop, the fridge, and the wood for a sleek Asian inspired style trim-out—set the stage for your next gathering. Let’s party!


Things You'll Need
- Miter Saw
- Table Saw
- Pull Saw
- Flat Bar
- Pneumatic Nailer/Compressor
- Combination Square
- (10) 2 × 6" × 8 ft. SPF
- (1) 3/4 × 4 × 8 Particleboard
- (1) 3/4 × 4 × 8 Cherry Plywood for Bartop
- (2) 6 ft. strips 1/2 × 16" Cementboard
- 20 sq. ft. 4 × 4 wall tile
- Thinset + Grout
- 3/4" Thick Cherry—2 @ 8 × 42" (actual)
- 3/4 × 1 1/2" Cherry Approx 80 Lineal Ft.
- (2) 1/2" × 4 × 8 ft. mdF
- 24" Base Cabinet
- 36" Base Cabinet—Corner (12" wide doors)
- Refrigerator (19w 22d 32-3/4" h)
- Postform Countertop (Mitered, 6 ft. each leg)
- 16d Common Nails
- Panel Adhesive
- 1-1/2" Drywall Screws
- Finish Nails (4d, 6d)
- Finishing Materials
- Glue
- Piano Hinge
Step by Step Instructions
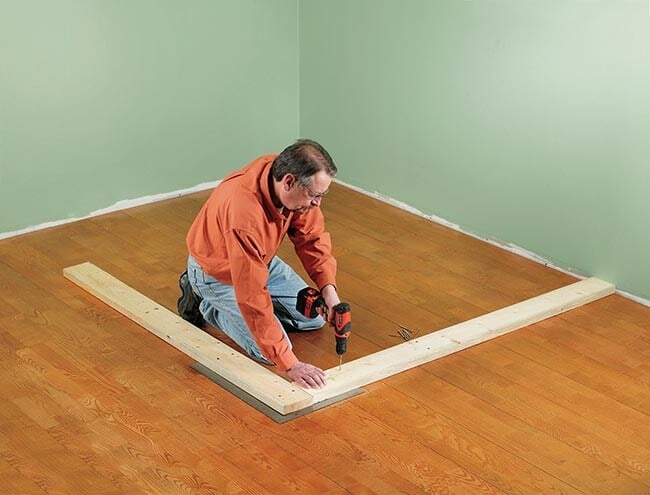
Step 1. Cut the 2 x 6 Sill Plates to Length (68")
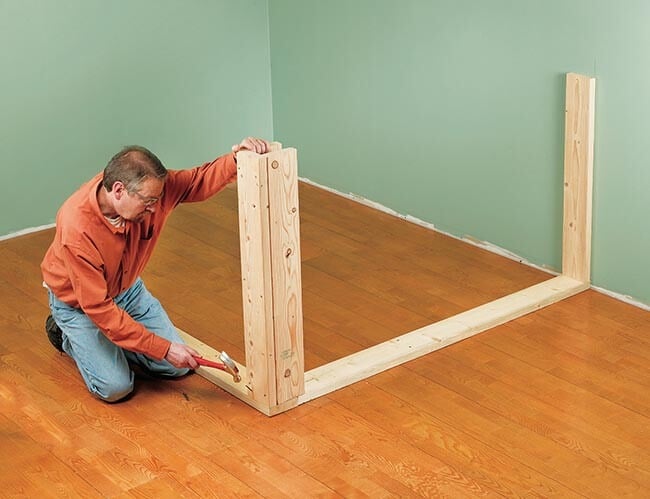
Anchor the sill plates for the kneewalls to the floor so they form a right angle at the corner where they meet. Use 16d common nails or screws and panel adhesive for a wood floor; use a powder-actuated nailer on a concrete floor.
Step 2. Attach the End Stud Against the Back Wall
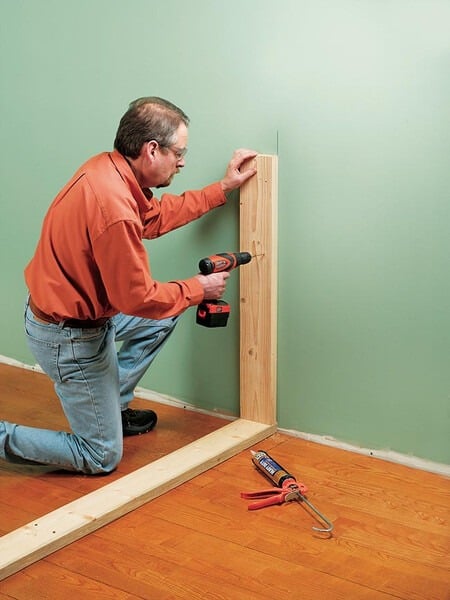
Use panel adhesive and deck screws to attach the end kneewall stud to the back wall, attaching at a stud location. If there’s no stud, open the wall and insert a horizontal nailer between the nearest studs.
Step 3. Make the Stud Wall Corner
Use 16d common nails to toe-nail the corner studs to the sill plates. Use a level to make sure the studs are vertical.
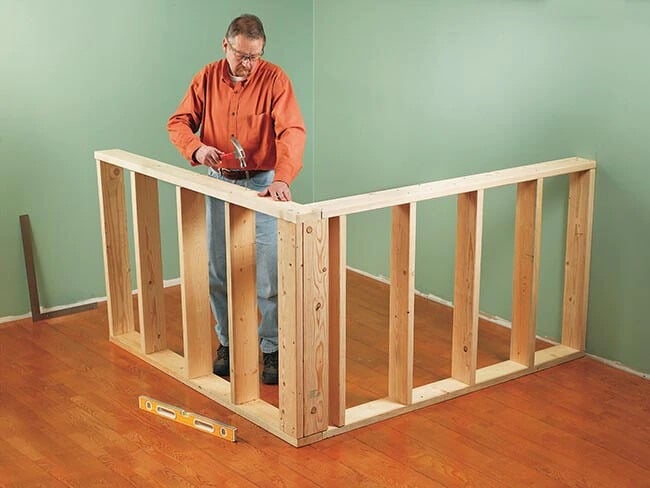
Step 4. Cut Cap Plates the Same Size as the Sill Plates
Complete the framing for the L-shaped kneewall section. For extra strength, drive a few 3" deck screws through the studs where they meet at the corner.
Step 5. Make the Aprons and Trim
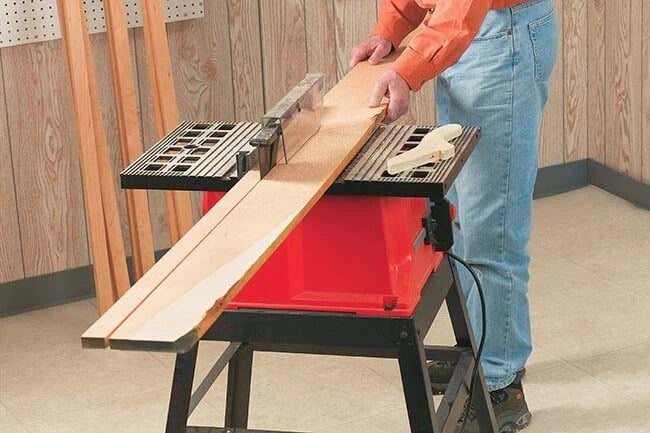
Rip two sheets of 1/2" MDF to 40 1/2"
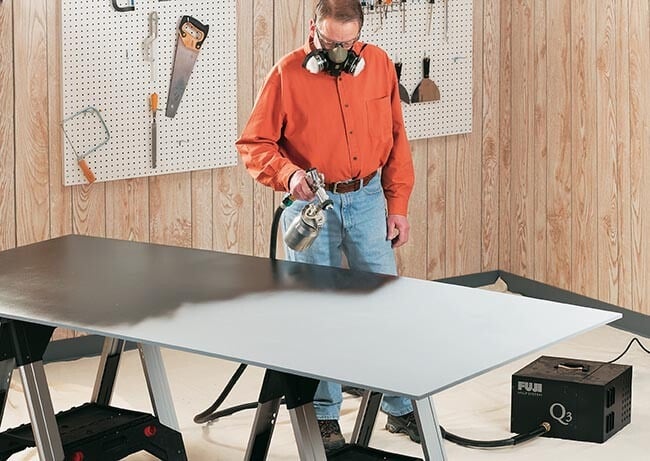
wide and trim them to length to make the bar front panels. Sand edges to remove any saw marks. For the smoothest possible finish, spray the front apron panels with an HVLP sprayer. Apply the paint or lacquer over primer, in thin coats.
Step 6. Prepare Hardwood Stock
Prepare at least 80 lineal feet of 3/4 × 11/2" hardwood stock to trim out the aprons and edges of the bartop.
Step 7. Apply a Clear Protective Wood Finish
For efficiency, apply a protective finish to the cherry apron trim stock. Dab some finish on the cut ends after you cut each trim piece to length.

Step 8. Apply Panel Adhesive to the Kneewall Studs
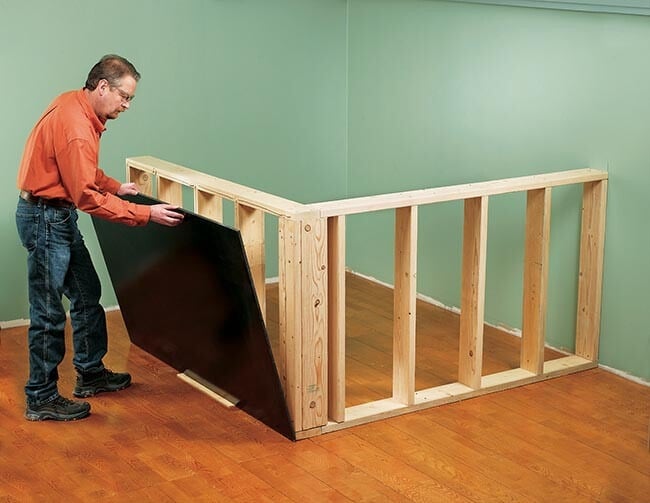
Apply panel adhesive to the kneewall studs to strengthen the bond with the black aprons. Slip a 1/4-thick spacer beneath each apron to create a gap between the panel and the floor.
Step 9. Attach the Aprons
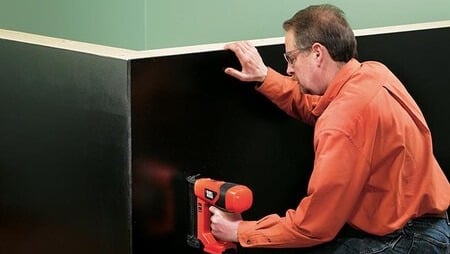
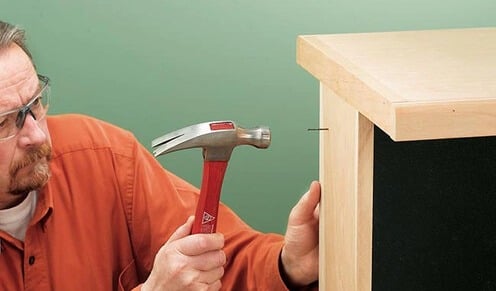
Attach the aprons with a pneumatic nailer and 2 1/2" Finish Nails Nail the apron panels to the wall studs at 8"
to 12"
intervals.
Step 10. Cut 16"-Wide Strips of 1/2"
-Thick Cement Boards
Attach cement board strips to the edges of the kneewall framing members as a backer for the backsplash area.

Step 11. Install the Wall Tile
Install the inside wallcovering before you cap the wall. We used inexpensive 4 x 4" ceramic wall tile set into a layer of thinset adhesive that's troweled onto the cement board.

Step 12. Bond the Particleboard Subbase
Bond the particleboard subbase directly to the top plates of the kneewalls, taking care to achieve even overhangs of 6" in front and 4"
on the bartender side of the walls.
Step 13. Secure the Subbase to the Walls
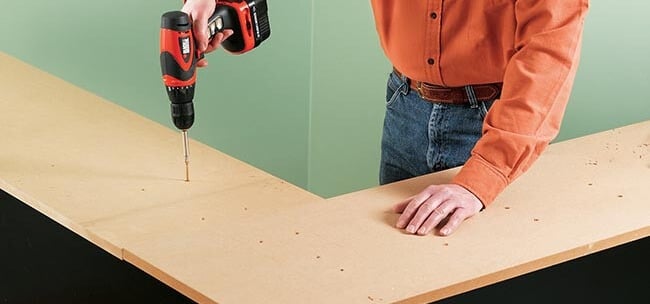
Drive plenty of 2" deck screws to secure the subbase to the walls. The screw heads must be sunk beneath the wood surface.
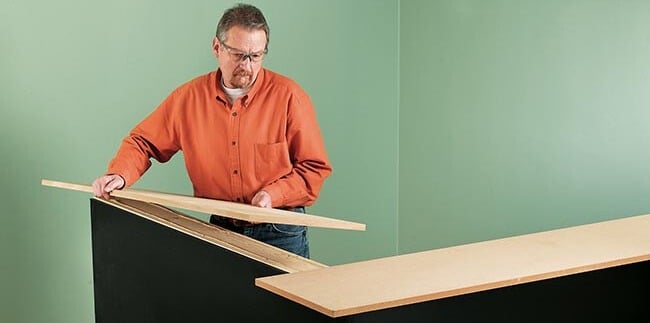
Step 14. Use a Circular Saw to Cut the Bartop
Make 45-degree miter cuts in the bartop top layer using a circular saw and cutting guide.

Step 15. Laminate With Panel Adhesives
Laminate the top layer of cherry plywood to the subbase with panel adhesives and 1 1/4" screws driven up through the subbase.

Step 16. Cut Parts to Length + Attach them to the Edges of the Bartop
Cut a roundover profile in one edge of the cherry edging stock and then cut the parts to length and attach them to the edges of the bartop with nails and glue.

Step 17. Square-Cut a piece of 1 × 2 Edging
Square-cut a piece of 1 × 2 edging to fit exactly between the ends of the roundover edging, and nail and glue it into place.
Step 18. Nail the End Panel to the Wall
Nail the cherry end panel to the wall end to conceal the stud wall and the edges of the wallcoverings and trim.
Step 19. Attach a 1 x 2 Stop Block to the Wall
Attach a 1 × 2 stop block for the lift gate to the wall directly above the wall-mounted end panel.

Step 20. Attach the Piano Hinge
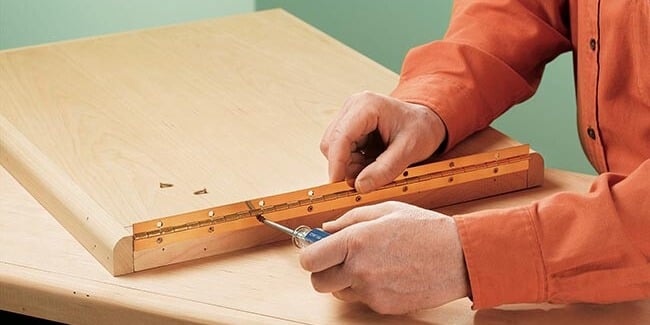
Attach the piano hinge to the lift gate section of the countertop first, then attach the other leaf to the countertop.
Step 21. Attach the Lift Gate
Attach the lift gate to the countertop and test to make sure it operates smoothly and correctly.
Step 22. Create a Ladder Grid Pattern
Add the decorative cherry strips in a ladder grid pattern, using an air nailer. Start with the vertical strips, then cut the horizontals to fit.

Step 23. Attach a Countertop to the Base Cabinets
Attach a countertop to the base cabinets to create an easy-to-clean work surface for the bartender.
Step 24. Add a Refrigerator or Appliance of Your Choice (OPTIONAL)
Slide in a refrigerator, eg-o-rator or any appliance you choose.

