DIY outdoor bench
Skill Level: Beginner | Estimated Time: 3 hours
Simple in its construction and easily customized with paint, stain, or hardware, this easy, homemade bench is the perfect way to punch up your backyard style.
It holds its own as a standalone piece, or you can tailor it to match your existing outdoor decor. Plus, it's cute enough to come indoors once it gets chilly — use it as an entryway station for pulling off winter boots!
Step by Step Instructions
Step 1. Cut the Legs + Frame + Ends
After measuring and marking your wood, use your circular saw to cut the following pieces:
- (4) Legs — 18" long — from the 4 x 4
- (2) Long Framing Pieces — 48" long — from the 1 x 4
- (2) Frame Ends — 9-1/2" long — from the 1 x 4
- (2) Frame Center Struts — 9-1/2" long — from the 1 x 4

Step 2. Construct the Bench Frame
Constructing a simple rectangle frame helps to distribute weight applied to the legs and seat of the bench and makes it easy to attach the post legs.
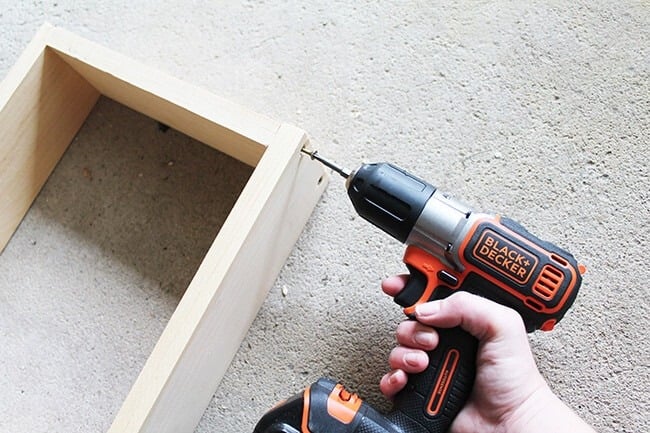
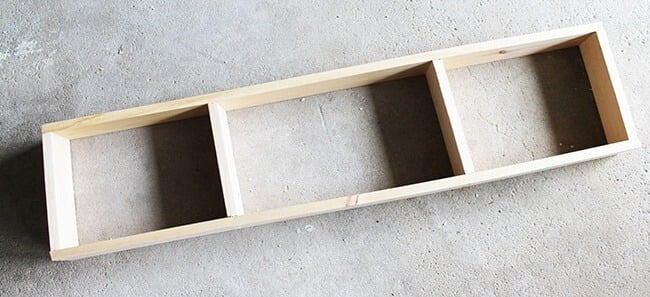
Line up two 9 1/2-inch pieces flush with the ends of the 48-inch pieces to create a long rectangle. Secure the pieces together with eight wood screws – four screws per end piece, one in each corner. Space the remaining 9 1/2-inch pieces evenly in the center of the frame and secure with four wood screws, two on each side.
Step 3. Attach the Seat
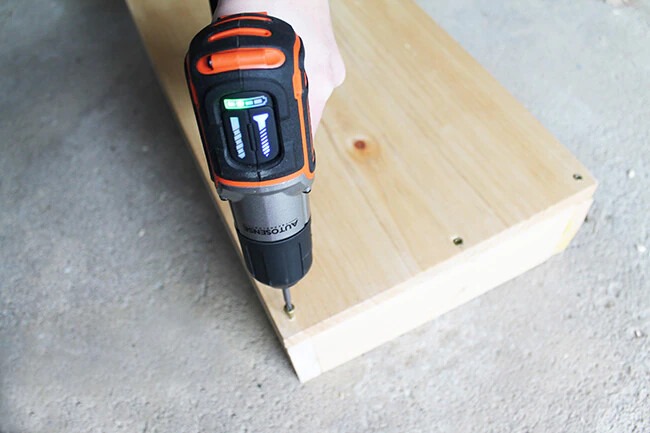
Place the 48-inch seating plank on the finished frame and ensuring all edges are flush, secure with wood screws around the edge of the frame and along the center struts.
Step 4. Secure the Legs
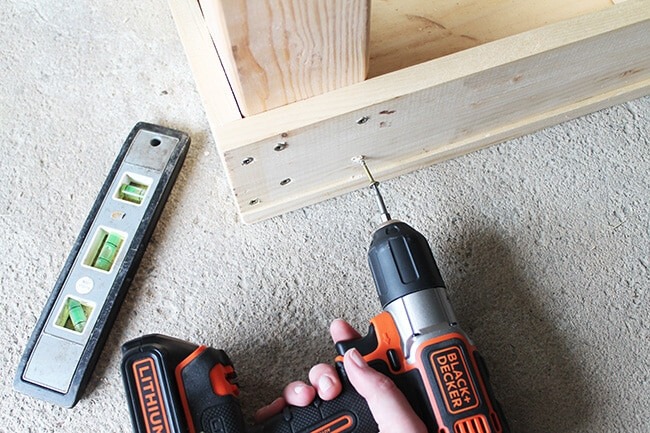
Place the post legs in each interior corner of the frame. Use your drill to secure the legs by driving four wood screws into each post through the frame’s exterior and seat of the bench.
Step 5. Stain + Finish
Almost there! Fill any screw borings with wood filler and sand the entire surface thoroughly with medium-grit sandpaper, then repeat with fine-grit sandpaper.

Brush off sawdust with a broom or cloth before applying your choice of wood stain or paint. After your finish has dried, protect your bench from the elements by applying a waterproofing sealer. Be sure to cover the bottom of each leg in this process – the feet get the most exposure to standing water, so waterproofing them is key.
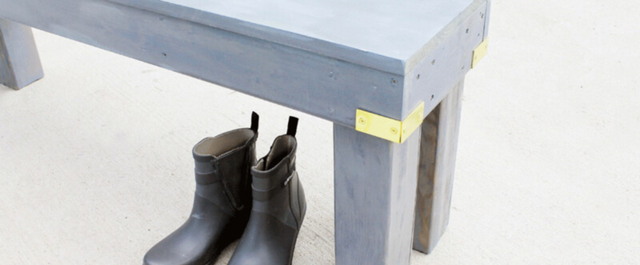
Tip: Add brass corners or brackets to your bench with screws for an elevated look.

