Oversized jigsaw puzzle
Skill Level: Intermediate | Estimated Time: 5 hours
Nurture your kids' creativity and woodworking skills with this family-friendly project you can complete and enjoy as a team.
Teach your kids measuring, tracing, sanding, and painting, but keep the cutting to the adults.
Step by Step Instructions
Step 1. Measure + Mark the Puzzle Grid
Create evenly sized puzzle pieces by dividing the plywood sheet into a grid. Measure and mark vertical and horizontal guides, in this example every 8 inches, by making incremental tick marks in pencil along each edge of the board and connecting the marks with a straightedge or yardstick.
You will be left with 36 grid squares for creating each interlocking puzzle piece.
Step 2. Create Stencils for Puzzle Knobs
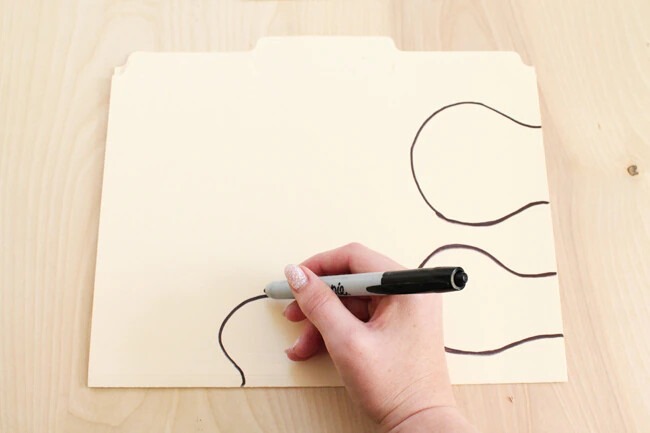
The quickest and most consistent way to create puzzle piece knobs is to start with a stencil. You'll speed production by cutting out four to six shapes from an old file folder and enlisting the help of friends or family members to tackle the next few steps.
Draw rounded freeform shapes along the straight edges of the file folder and cut them out with scissors. Avoid making complicated shapes with abrupt turns or several straight edges, and keep the scale around ⅓ of the grid square.
Step 3. Trace Knob Stencils Onto Puzzle Grid
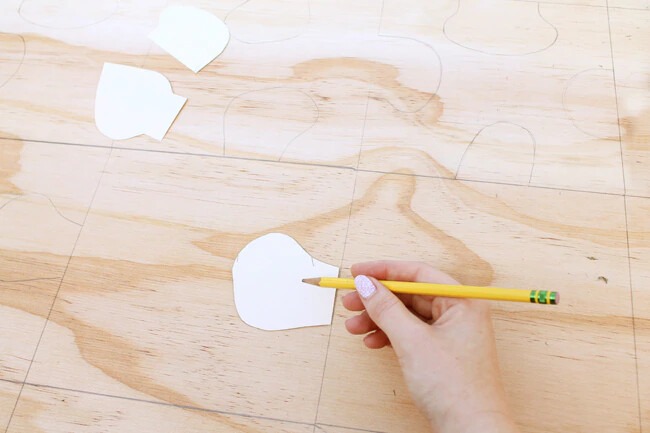
Trace knob shapes in pencil onto at least three sides of each grid square, excluding the outside edges. The shape can face the interior or exterior of a square, with the straight edge flush with the grid line, to create classic puzzle knobs or inlets on each piece. Just take care to randomize your pattern and utilize all of your stencil shapes.
Step 4. Cut Out Puzzle Pieces
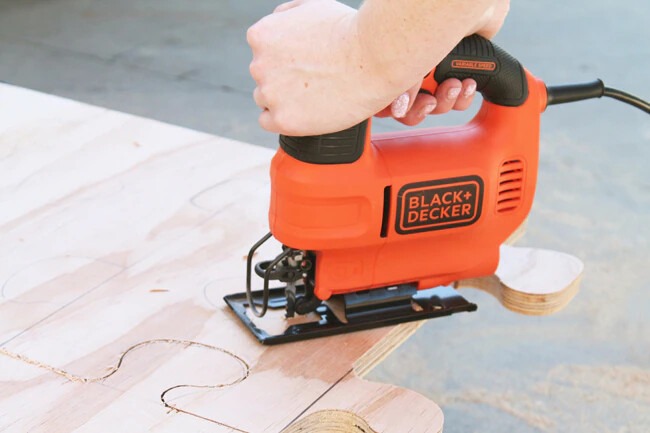
Clamp your plywood piece flat to a work surface or sawhorses with your sketched puzzle facing up. Starting at one corner, slowly cut along your penciled guidelines with your BLACK+DECKER 5 Amp Jigsaw with CurveControl™ and a fine wood-cutting blade.
Avoid cutting too quickly, which can increase splintering. Take care not to over-rotate the blade while turning corners, and always keep two hands on the saw at all times during operation. You may find that approaching a cut from a different angle will allow you to make the cut more comfortable.
Step 5. Sand Rough Puzzle Edges
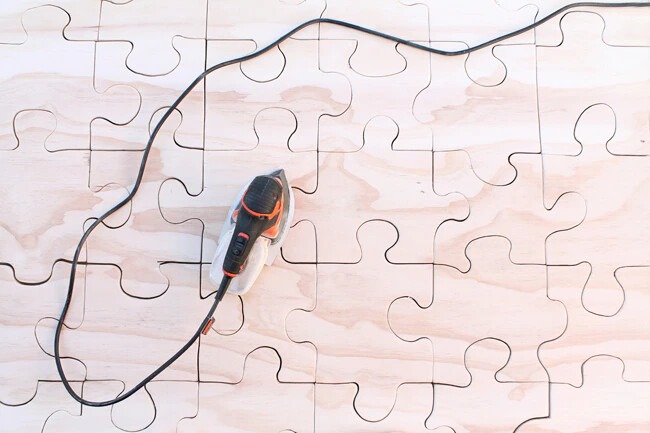
Make the giant puzzle pieces easier to connect by rounding the sharp edges of individual pieces with your BLACK+DECKER MOUSE® Detail Sander and 120-grit sandpaper. The narrow tip of this sander is perfect for sanding the interior edges of the puzzle pieces' knobs and inlets.
Step 6. Sand the Surface
After sanding the edges of each individual piece, prep your assembled puzzle pieces for painting by sanding the entire surface with 220-grit sandpaper. This will remove any remaining pencil marks or splintered edges resulting from cutting.
Brush off the sawdust from all surfaces of each piece, using a clean rag.

Step 7. Reassemble Puzzle + Paint Design
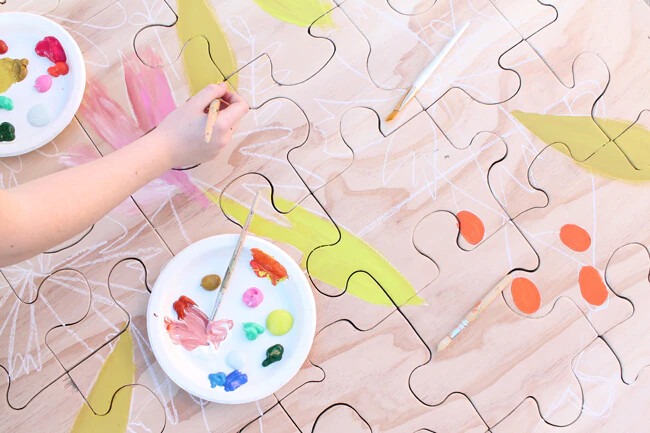
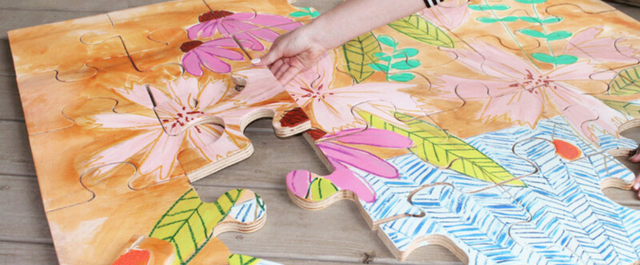
Reassemble the puzzle and sketch out a rough design or pattern with a pencil or oil pastel before painting with acrylic paint. Oil pastels draw easily on wood and can be used to add contrasting outlines to shapes or intricate details to your finished puzzle. Make the artwork a collaborative family masterpiece by providing everyone their own paper-plate pallet to paint their own design on a few pieces.
Tip: You can make the puzzle more challenging by painting a smaller pattern or identical repeat on pieces.
Step 8. Spray With Clear Sealer
Protect your painted puzzle from heavy use with a light coat of polyurethane spray sealer. Opt for a waterproof sealer and spray all surfaces to protect against moisture.

Step 9. Assemble the Puzzle
Bring the puzzle to a large area, such as the living room or backyard, for you and the kids to assemble together.

Step 10. Store the Puzzle
Keep the puzzle pieces dry and within easy reach by storing them in a large wood crate indoors.

